**This is an old revision of the document!**
Table of Contents
GNU Radio benchmark example with docker
This tutorial executes an OFDM transmission between two nodes using docker in CorteXlab, transmitting dummy packets between them.
We base this tutorial on the example digital OFDM benchmark transmitter and receiver code present in GNU Radio. For more info on the OFDM benchmark, please refer to the GNU Radio documentation.
Create your docker image
Using docker, we will enable on your laptop an environment suitable for CorteXlab with gnuradio and needed software. Your goal is to develop this image (with new software and files) so you can run your experiment. It will only modify the environment of the image and not your laptop. Then you will be able to save and deploy the new image on cortexlab, without having to re-install everything and dealing with software compatibility and versioning.
Therefore, you can retrieve and run the following image.
you@yourpc:~$ docker pull m1mbert/cxlb-gnuradio-3.7:1.0
you@yourpc:~$ docker run -dti --net=host --expose 2222 --privileged m1mbert/cxlb-gnuradio-3.7:1.0
Access the docker container using ssh :
you@yourpc:~$ ssh -Xp 2222 root@localhost
Add this option to the run command if you want to use a USRP plugged in with a USB port on you local machine : -v /dev/bus/usb:/dev/bus/usb .
Also, a new host key is created when running the container. The following command could be necessary to add the new key to the known hosts list before using ssh.
you@yourpc:~$ ssh-keygen -f "/home/[YOUR NAME]/.ssh/known_hosts" -R "[localhost]:2222"
When in the container, you need to set it up for your experiment, here a simple OFDM transmission that we can get from github. We can test it on our local machine before sending it to cortexlab (it won't work if you don't have an USRP available).
root@yourpcwdocker:~$ git clone https://github.com/CorteXlab/examples.git
root@yourpcwdocker:~$ ./examples/my_task/benchmark_rx.py --antenna="TX/RX" --rx-gain=25 -v -W 2M -f 2.49G
Let's go over each one of the files in this example:
benchmark_tx.py: the GNU Radio python script for the OFDM transmitterbenchmark_rx.py: the GNU Radio python script for the OFDM receivertransmit_path.py,receive_path.pyanduhd_interface.py: are helper codes for both benchmark python scriptsscenario.yaml: a out-dated scenario description file (in yaml format) that we will not use here
Here, this is all the modifications we need to do in order to prepare our experiment. When it is working properly, you can exit the container with Ctrl + d. Now, let's save our updated container as a new docker image. We can then push it on dockerhub (dockerhub is a repository of docker images, you need to create an account on it).
you@yourpc:~$ docker ps -a
you@yourpc:~$ docker commit [CONTAINER ID] [NEW IMAGE NAME]
you@yourpc:~$ docker tag [NEW IMAGE NAME] [DOCKER USERNAME]/[NEW IMAGE NAME]
you@yourpc:~$ docker login
you@yourpc:~$ docker push [DOCKER USERNAME]/[NEW IMAGE NAME]
Create the scenario
For the following, the task will refer to the instructions given by Airlock, the scenario file and minus. The experiment will refer to the OFDM transmission.
Create on your machine a folder my_task and in it a file scenario.yaml which will indicate the nodes to use and how to use them. It should look like this :
# Example scenario description file
#
#   All lines starting with "#" and empty lines are ignored


# Scenario textual description
#   simple string (a one liner)
description: OFDM - Docker and Cortexlab

# Experiment maximum duration
#   Time after which the experiment is forced to stop
#   integer (seconds)
duration: 300

# Node list
#
#   format:
#
#   nodes:
#     (machine):
#       command: (entry point script relative to the task root)

nodes:
  node14:
    container:
    - image: [DOCKER USERNAME]/[NEW IMAGE NAME]:latest
      command: /usr/sbin/sshd -p 2222 -D

  node16:
    container:
    - image: [DOCKER USERNAME]/[NEW IMAGE NAME]:latest
      command: /usr/sbin/sshd -p 2222 -D
The file is self-explanatory, but for now let's ignore all but the indented lines following node14: and node16:. You'll have the opportunity to understand the rest better later on.
Let's go over each said line now:
node14:: This opens the node14 declaration of optionsimage:: This indicates which image to download from dockerhub and run on the nodecommand: /usr/sbin/sshd -p 2222 -D: opens the container to a ssh connection. During the task, you will access the node through its container with ssh and launch the experiment yourself. This way you can view log in real time and relaunch the experiment with different parameters without having to create a new task
We will use the ssh method for this example, but know that you can also use the command option in a different way, by directly giving the parameters of you experience and not going through ssh. The idea is that when you're developing an experiment, you will go through trials and errors, parameter tweakings, and working interactively through ssh is the best option, When the experiment is running well and you want to reproduce it several times, on the other hand, it's best to automatize everything, so that you don't need to ssh to each node and run commands manually. It's also possible, for example, that you adjust interactively a receiver first, and when it's done, you run it automatically, and you keep the interactive sessions only for adjusting and tuning the emitter node(s).
nodes:
  node14:
    container:
    - image: [DOCKER USERNAME]/[NEW IMAGE NAME]:latest
      command: ./benchmark_rx.py --antenna="TX/RX" --rx-gain=25 -v -W 2M -f 2.49G
      passive: true

  node16:
    container:
    - image: [DOCKER USERNAME]/[NEW IMAGE NAME]:latest
      command: ./benchmark_tx.py --antenna="TX/RX" --tx-amplitude=0.2 -v -W 2M -f 2.49G
command: ./benchmark_rx.py –antenna=“TX/RX” –rx-gain=25 -v -W 2M -f 2.49G: states the command to run on node14. Details of the parameters are:–antenna=“TX/RX”: this indicates which antenna connector to use on the USRP radio platform connected to the node–rx-gain=25: this sets the receive gain of the USRP radio platform-v: this puts the script in verbose mode, printing debug information-W 2M: this sets the bandwidth of the signal to 2 MHz-f 2.49G: this sets the carrier frequency of the signal to 2.49 GHzpassive: true: the node 4 will be passive, meaning it will stop when all active nodes are finished
Same reasoning follows for the section on node6. So this is the scenario at hand:
- Node14 behaves as the OFDM receiver
- Node16 behaves as the OFDM transmitter
For more info on where these nodes are located inside the platform, please check the node position map at the home of this wiki.
Assuming your account has been correctly created, you can now copy the folder with the scenario file into the Airlock SSH front-end:
you@yourpc:~$ scp -P 2269 -v [-i path/to/your/key] [-r] path/to/local/file/my_task username@gw.cortexlab.fr:/cortexlab/homes/[YOUR CORTEXLAB USERNAME]/workspace/
Access Airlock
You can now access the Airlock SSh server that will allow you to manage your task.
you@yourpc:~$ ssh -X -v [-i path/to/the/key] username@gw.cortexlab.fr
Creating the task file
On airlock, before submitting the task to the nodes, we need first to put the task into a format that can be readily understood by Minus. Minus is the experiment controller code, responsible for doing the dirty stuff for you:
- Firing up the right nodes to be used
- Copying the code onto the nodes
- Starting everything at the same instant
- Waiting until everything finishes, and stop stubborn code from running forever
- Copying results, error and output messages to airlock, so that you can access it
- Turning off everything and cleaning up
Let's prepare the task, but first we need to go back to the folder containing the task:
you@srvairlock:~/ cd /cortexlab/homes/[YOUR CORTEXLAB USERNAME]/workspace/
And now, instruct Minus to create a task file:
you@srvairlock:~/workspace$ minus task create my_task
you@srvairlock:~/workspace$ ls
my_task  my_task.task
And now we have a new file called my_task.task which is ready to be submitted. Warning, do not leave a slash after the directory task name (i.e. my_task ) or the command will fail.
Submitting the task
Now we need to give the task to Minus, so that it can operate its magic.
First we need to reserve the CorteXlab room:
I a new browser window open the CorteXlab web app. It will open in your current reservation list if you have any.
you@srvairlock:~/workspace$ oarsub -l nodes=BEST,walltime=0:30:00 -I
(If you're running your reservation in a container reservation):
you@srvairlock:~/workspace$ oarsub -t inner=<id of container> -l {"network_address in ('mnode4.cortexlab.fr', 'mnode6.cortexlab.fr')"}/nodes=2,walltime=0:30:00 -I
(Be sure that no one else is using the same node as you)
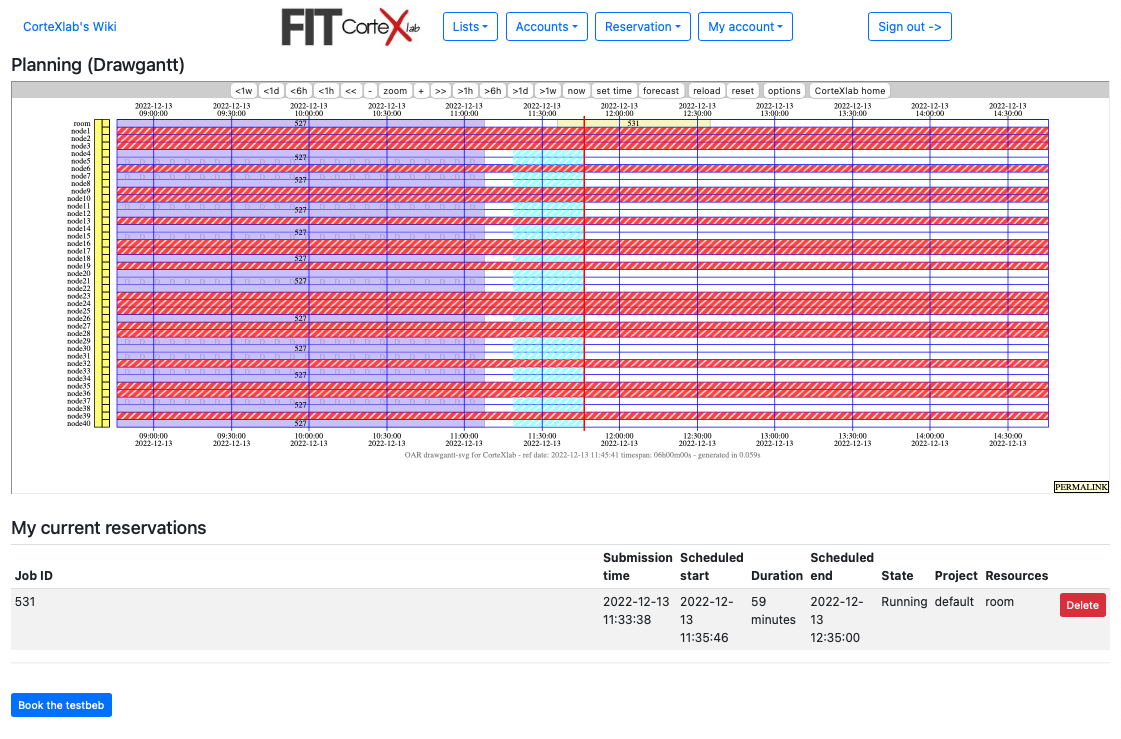
This will run a 30 minute job and open a sub-shell in which you can run minus tasks. This sub-shell will be killed after 30 minutes, and if you leave the shell earlier, it will terminate the corresponding oar job. More documentation on oar can be found here. You can also monitor the current jobs in the gantt web interface.
We then submit the minus task:
you@srvairlock:~/workspace$ minus task submit my_task.task
Task with id 15 enqueued user <login>.
You'll see that Minus recognizes you as the submitter of the task and gives you a task number (15 in this example). You'll want to write down the number of the task as it will be important for checking its status or to abort it, if necessary.
Bear in mind that your task has been put on a queue and will await running tasks and other scheduled tasks to start, so it may take a while before it runs.
Minus can also help you check the status of the queue:
you@srvairlock:~/workspace$ minus testbed status
num total tasks:   2540
num tasks waiting: 0
num tasks running: 0
tasks currently running:
  (none)
These information are returned:
num total tasks: This is the number of the last created tasknum tasks waiting: This is the number of tasks currently awaiting in the queuenum tasks running: This is the number of tasks currently executing (most of the time, there can only be one task running at the same time. Only in special situations, such as demos, tutorials, can several users run tasks concurrently).tasks currently running: This is a detailed list of tasks currently running.
Run the experiment
Now the node we want to use are up and running with the docker image we set up earlier. We can access them with ssh to run our experiment. To do so, open a new terminal per node you want to use, here two, access Airlock and run the following command, here for node 14 :
you@srvairlock:~/workspace$ ssh -p 2222 root@mnode14
You are now connected to the node with the docker environment you set up earlier. You can then run the command for each node to start the experiment :
# From node 14
root@mnode14:~/ ./examples/my_task/benchmark_rx.py --antenna="TX/RX" --rx-gain=25 -v -W 2M -f 2.49G

# From node 16
root@mnode16:~/ ./examples/my_task/benchmark_tx.py --antenna="TX/RX" --tx-amplitude=0.2 -v -W 2M -f 2.49G
Collecting and analyzing the output
Generally the OFDM example experiment will take a few minutes to run. On the terminal accessing the node 14 (receiver) with ssh, you will see the following :
linux; GNU C++ version 4.7.2; Boost_104900; UHD_003.007.001-84-gd99ce4ef

-- Opening a USRP2/N-Series device...
-- Current recv frame size: 1472 bytes
-- Current send frame size: 1472 bytes
-- Detecting internal GPSDO.... Found an internal GPSDO
-- found
-- Setting references to the internal GPSDO
-- Initializing time to the internal GPSDO

UHD Receiver:
UHD Args:
Freq:         2.49GHz
LO Offset:    0Hz
Gain:         25.000000 dB
Sample Rate:  2Msps
Antenna:      TX/RX
Subdev Sec:   None
Clock Source: None
Using Volk machine: avx_64_mmx_orc

OFDM Demodulator:
Modulation Type: bpsk
FFT length:      512
Occupied Tones:  200
CP length:       128
Warning: failed to enable realtime scheduling
ok: False 	 pktno: 169 	 n_rcvd: 1 	 n_right: 0
ok: False 	 pktno: 170 	 n_rcvd: 2 	 n_right: 0
ok: False 	 pktno: 171 	 n_rcvd: 3 	 n_right: 0
ok: False 	 pktno: 173 	 n_rcvd: 4 	 n_right: 0
ok: False 	 pktno: 174 	 n_rcvd: 5 	 n_right: 0
ok: False 	 pktno: 175 	 n_rcvd: 6 	 n_right: 0
ok: False 	 pktno: 176 	 n_rcvd: 7 	 n_right: 0
ok: False 	 pktno: 177 	 n_rcvd: 8 	 n_right: 0
ok: False 	 pktno: 178 	 n_rcvd: 9 	 n_right: 0
ok: False 	 pktno: 179 	 n_rcvd: 10 	 n_right: 0
ok: False 	 pktno: 180 	 n_rcvd: 11 	 n_right: 0
ok: False 	 pktno: 181 	 n_rcvd: 12 	 n_right: 0
ok: False 	 pktno: 182 	 n_rcvd: 13 	 n_right: 0
ok: False 	 pktno: 185 	 n_rcvd: 14 	 n_right: 0
ok: False 	 pktno: 186 	 n_rcvd: 15 	 n_right: 0
ok: False 	 pktno: 191 	 n_rcvd: 16 	 n_right: 0
ok: False 	 pktno: 192 	 n_rcvd: 17 	 n_right: 0
ok: False 	 pktno: 197 	 n_rcvd: 18 	 n_right: 0
ok: False 	 pktno: 203 	 n_rcvd: 19 	 n_right: 0
...
Let's try to understand it:
- The first 9 lines correspond to the UHD messages
- The next 16 lines correspond to the GNU Radio messages and radio configuration parameters
- There might be a warning message about realtime scheduling that can be safely ignored
- The lines starting with
ok: False pktno: 169 n_rcvd: 1 n_right: 0are from the receiver trying to decode the OFDM packets. Let's further inspect these lines:ok: False: means the packet was incorrectly decoded, i.e., it failed to pass the checksumpktno: 169: is the sequence number seen at the receivern_rcvd: 1: is the number of received packetsn_right: 0: is the number of correctly received packets
As can be seen, there's a local oscillator (LO) mismatch between both nodes that complicates the decoding process.
If you decide to directly run your experiment in the scenario.yaml, as explained before, Minus will take care of copying the results and output messages back to your home folder in airlock, so that you can analyze it.
All results are stored by task number in the results folder. Let's go and have a look at them:
you@srvairlock:~/workspace $ cd ../results
you@srvairlock:~/results$ ls
task_XXXX
you@srvairlock:~/results$ cd task_XXXX
you@srvairlock:~/results/task_XXXX $ ls
node14.tgz  node16.tgz
So we see that we have a folder for each task and inside each folder one compressed file per participant node. Let's extract one of those files and see what's inside:
you@srvairlock:~/results/task_XXXX$ tar -zxf node14.tgz
you@srvairlock:~/results/task_XXXX$ ls
node14  node14.tgz  node16.tgz
you@srvairlock:~/results/task_XXXX$ cd node14
you@srvairlock:~/results/task_XXXX/node14$ ls
benchmark_rx.py  receive_path.pyc  stdout.txt        uhd_interface.pyc
benchmark_tx.py  scenario.yaml     transmit_path.py
receive_path.py  stderr.txt        uhd_interface.py
We see that all of the files we used to create the task are inside, but we have some new files. The *.pyc files are the python compiled files and we can safely ignore them. The other two are:
stdout.txt: all output messages from your GNU Radio python script are written here. These include GNU Radio messages as well as all “print”s you include in your code. Seeing the contents of this file is useful to assert its correct operation.stderr.txt: all error messages are printed here. If you see strange things on thestdout.txtor nothing at all, it might be interesting to take a look at thestderr.txtto debug your code.
What next?
Congratulations! You have finished your first tutorial on CorteXlab. Please, feel free to change the example task and try out different configurations, carrier frequencies, bands, and so on. You can always resubmit this task to test out different kinds of configurations.
One good example of what to do is to nudge the carrier frequency of approximately +/- 20 KHz and see if the decoding process works better.
To learn mode advanced concepts around creating and managing tasks on CorteXlab, please continue the tutorials.